React Clone-coding Movie-App
공부하는 내용을 정리하는 목적으로 작성하고 있습니다. 잘못 작성된 내용을 지적해주시면 좀더깊이 공부해서 내용을 수정하겠습니다.
React Clone-Coding! Simple Movie-App
사전준비
Node & NPM 설치™ url: https://nodejs.org/ 현재기준 LTS버전이 12.19까지 나와있는데 나는 예전에 설치한 12.13 버전을 그냥 사용하기로 했다. Node 버전 확인
 Npm 버전 확인
VSCode 설치 url: https://code.visualstudio.com/ 현재기준 1.50버전이 최신인데 나는 기존에 설치한 1.49.2버전을 그냥 사용하기로 했다.
Git 설치 url: https://git-scm.com/ 현재기준 2.28.0 버전이 최신인데 나는 기존에 설치한 2.20.1버전을 그냥 사용하기로 했다.
프로젝트 생성
- React App 생성

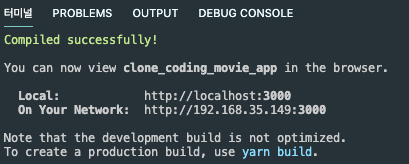
- React App 실행
npm start
프로젝트 구성
- index.js
- App.js
- routes
- About.js
- About.css
- Detail.js
- Detail.css
- Home.js
- Home.css
- components
- Movie.js
- Movie.css
- Navigation.js
- Navigation.css
사용한 모듈
axios
prop-types
react
react-dom
react-router-dom
react-script
주요 소스코드
function App() {
  return (
    <HashRouter>
      <Navigation />
      <Route path="/" component={Home} exact={true} />
      <Route path="/about" component={About} />
      <Route path="/movie-detail" component={Detail}/>
    </HashRouter>
  );
}
export default App;
Home, About, Detail 등 여러 페이지로 이동할 수 있어야하므로 라우팅 기능이 필요했고 이번 첫 예제프로젝트는 Backend없이 openapi로 받아와서 화면에 출력할것이므로 심플한 HashRouter를 사용했다.
- Backend연동하여 좀더 큰 규모로 사용할때는 BrowserRouter가 적합하다고 한다.
Route Component는 필수로 path와 component 2개의 props를 전달해야 한다. path는 라우팅할 경로를 넣어주고 components는 라우팅되어 출력할 Component를 설정한다.
React는 URL로부터 Component를 출력할 때 ‘/’ 문자 단위로 탐색하면서 상위부터 출력한다. 예를들어 /movie/detail/title 이라는 URL이 있다면 movie-Compoent, detail-Component, title-Component를 순서대로 출력한다. 만약 최종 title-Component만 출력하려면 Route에 exact={true}로 설정하여 props를 전달해야한다.
class Home extends React.Component {
  componentDidMount() {
    this.getMovies();
  }

  state = {
    isLoading: true,    // true ? 로딩중 : 로딩완료
    movies: [],         // 영화 데이터 목록
  };

  getMovies = async () => {
    const {
      data: {
        data: {
          movies
        },
      },
    } = await axios.get('https://yts-proxy.now.sh/list_movies.json?sort_by=rating');
    this.setState({movies: movies, isLoading: false});
  };

  render() {
    const { isLoading, movies } = this.state;
    return (
      <section className="container">
        {isLoading ? (
          <div className="loader">
            <span className="loader__text">Loading...</span>
          </div>
        ) : (
          <div className="movies"> {
            movies.map(movie => {
              return <Movie key={movie.id} year={movie.year} title={movie.title} summary={movie.summary} poster={movie.medium_cover_image} genres={movie.genres} />;
            })
          }
          </div>
        )}
      </section>
    );
  }
}
Home은 영화 데이터를 OpenAPI로 불러온 뒤 각각 카드로 가공해 화면에 출력해준다. state를 관리하기때문에 Class-Component로 구현했다.
- 찾아보니 요즘은 Function-Component로도 가능하다고 한다.(v16.8 이상)
난 v16.13사용중인데.. 왜 Class-Component를.. 공부중이니까 class구현해본걸로 넘어가자.
영화 데이터를 가져오는데 시간이 얼마나 오래 걸릴지 모르므로 비동기방식을 사용했다.
state는 영화데이터 로딩완료상태를 체크하기위해 boolean타입의 isLoading과 영화 데이터를 관리할 수 있도록 movies 배열을 정의했다.
OpenAPI로부터 영화 데이터 수신이 완료되면 movies 배열에 데이터가 담기게 되는데 movies.map(); 함수를 사용해서 각 영화 데이터들을 Movie-Component로 보내 영화 카드를 만들 수 있도록 구현했다. 이 때 key props를 넘기도록 구현했는데 Movie Component로 key props가 전달되진 않는다. (key props는 React내부에서 사용하는 특수한 props)
React에서는 Component의 유일성을 보장하기 위해 key를 반드시 전달해야 한다.
state는 직접 변수에 접근하여 수정하지않고, setState(); 메서드를 통해 간접적으로 데이터를 변경한다.
class Detail extends React.Component {
    componentDidMount() {
        const { location, history } = this.props;
        // location.state 값이 전달되지 않은경우 '/'으로 Redirect한다.
        if (location.state === undefined) {
            history.push('/');
        }
    }

    render() {
        const { location } = this.props;
        // componentDidMount(); 보다 render(); 가 먼저 호출되므로 render(); 에서도 props check가 필요하다.
        if (location.state === undefined) { return null; }

        return (
            <div className="detail">
            <span>
                <h3>Title<br/>{ location.state.title }</h3>
                <h5>Summary<br/>{ location.state.summary }</h5>
                <h5>Year<br/>{ location.state.year }</h5>
            </span>
            </div>
        );
    }
}
Detail-Component는 Movie-Component에서 클릭 이벤트가 발생했을경우 상세정보 출력을 담당한다.
따라서 이 경우를 체크하여 ‘/’ 루트 페이지로 이동할 수 있도록 Redirect한다. Redirect는 history props를 사용해서 처리한다.
render() 함수에도 Redirect를 구현한 이유는 render();가 componentDidMount(); 보다 먼저 호출되기 때문이다. 따라서 render()에서 Redirect를 구현하지 않는다면 제대로 처리되지 않는다.
const Navigation = () => {
    return (
        <div className="nav">
            <Link to="/">Home</Link>
            <Link to="/about">About</Link>
        </div>
    );
};
Navigation은 화면 좌측 혹은 하단에 띄우는 라우팅 메뉴를 담당한다. Home, About을 클릭하면 해당 페이지로 이동한다. [a]태그를 사용하면 클릭과 동시에 DOM을 새로그려 화면 전체가 갱신된다. 따라서 React의 Virtual-DOM을 쓰는 이유가 없어지므로 react-router-dom 모듈의 [Link]를 사용해서 변경된 부분만 새로 그릴 수 있도록 한다.
const Movie = ({year, title, summary, poster, genres}) => {
    return (
        <div className="movie">
            <Link to=\{\{
                pathname: '/movie-detail',
                state: { year, title, summary, poster, genres }
            }}>
                <img src={poster} alt={title} title={title} />
                <div className="movie__data">
                    <h3 className="movie__title">
                        {title}
                    </h3>
                    <h5 className="movie__year">{year}</h5>
                    <h5>Genres</h5>
                    <ul className="movie__genres">
                        {genres.map((genre, index) => {
                            return <li clsssName="movie__genre" key={index} > {genre} </li>
                        })}
                    </ul>
                    <p className="movie__summary">{summary.slice(0, 180)}...</p>
                    <hr />
                </div>
            </Link>
        </div>
    );
}
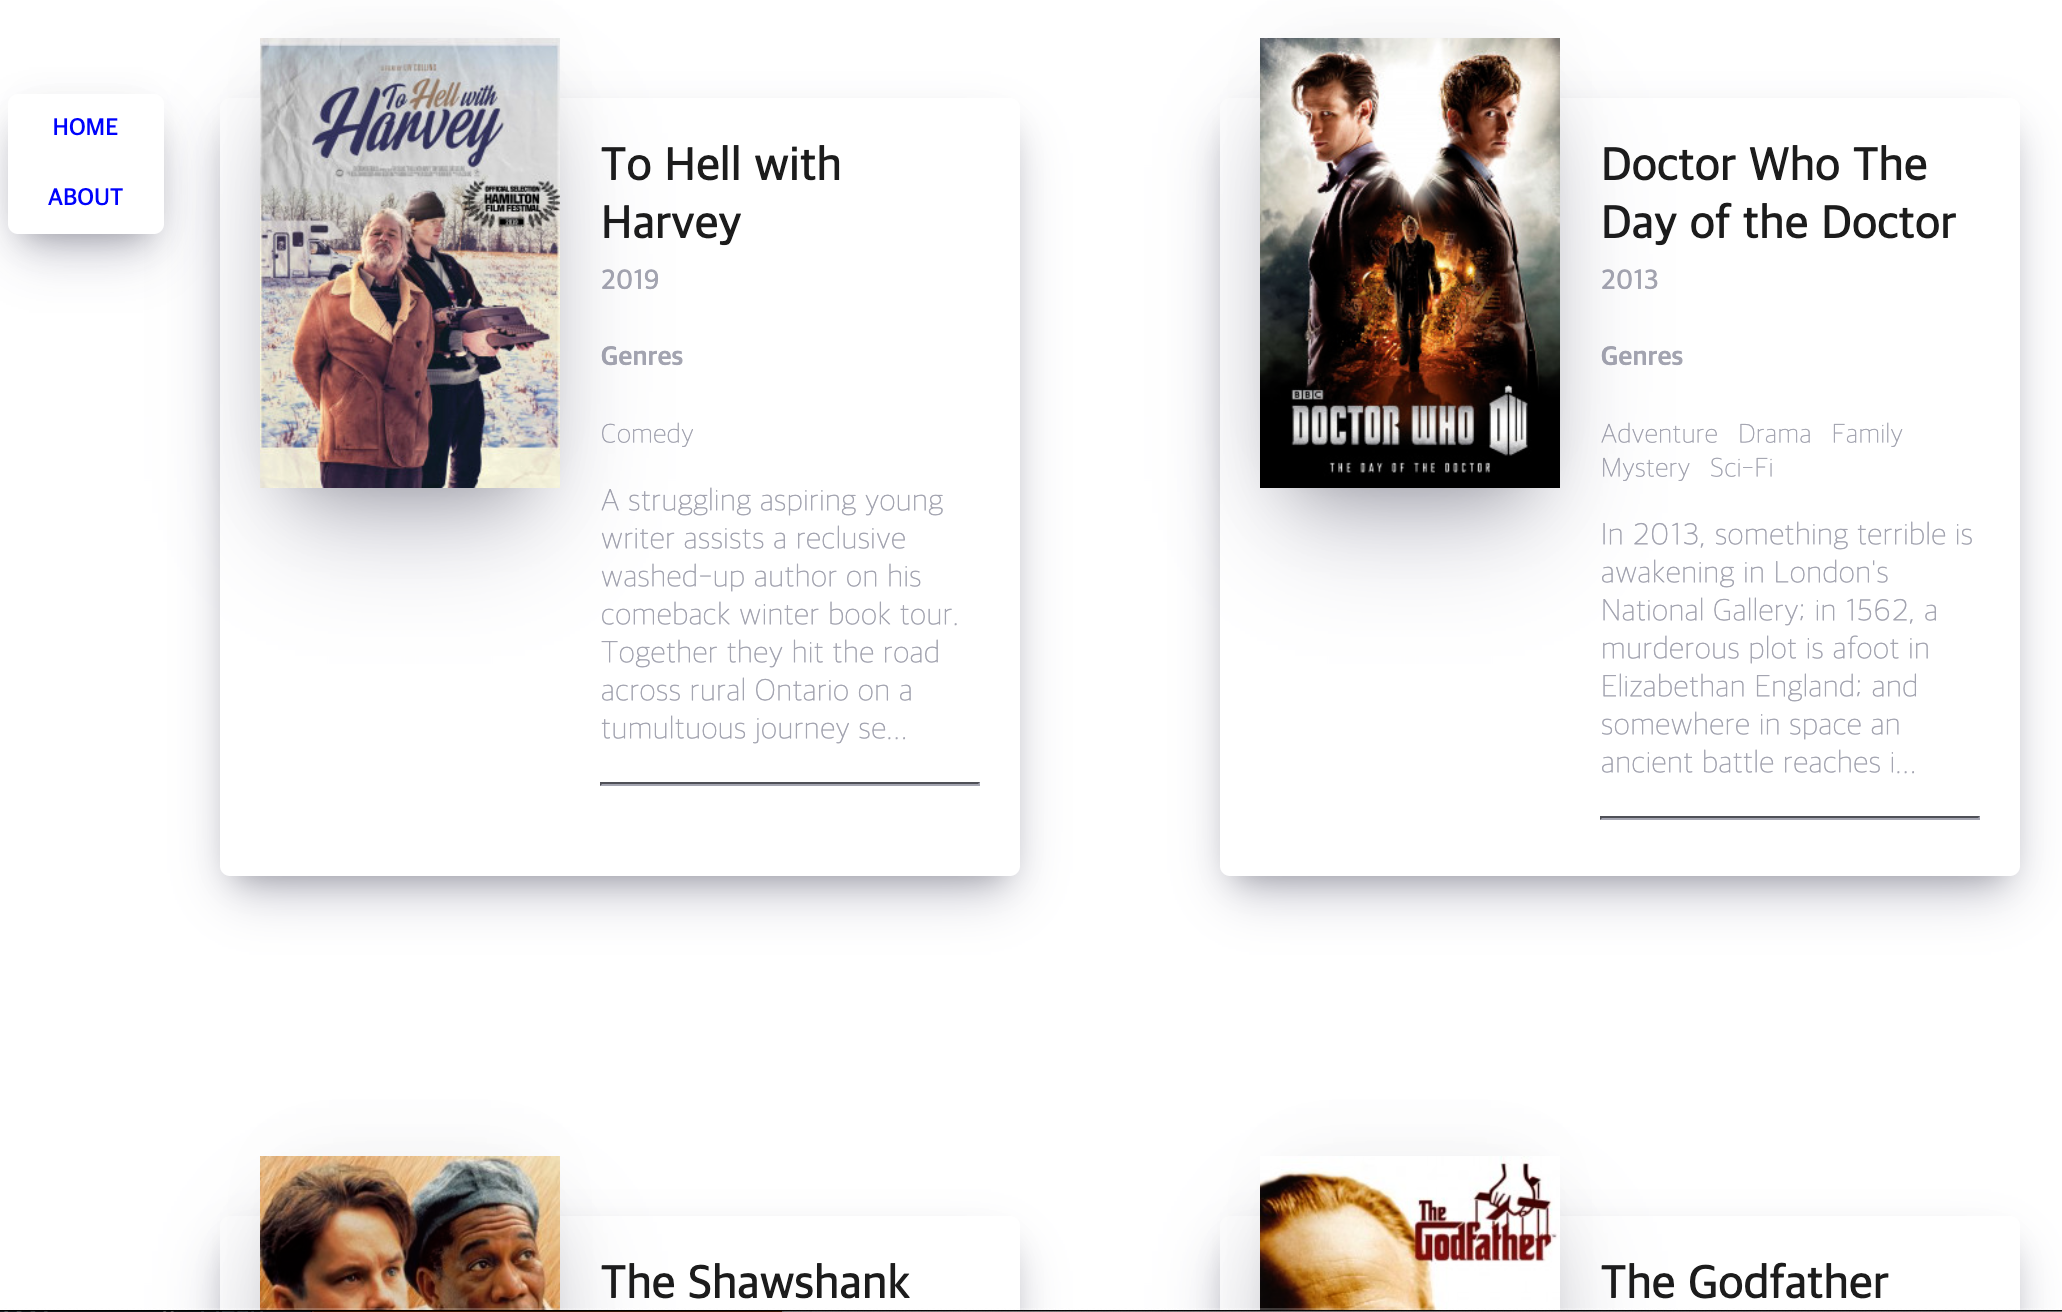
Home-Component로부터 전달받은 props를 화면에 출력할 적당한 값으로 가공한다.
v1.0 완성된 화면

